Step 1: Consultation with a Nivalon Medical Certified Surgeon
You will begin by meeting with a Nivalon Medical-certified surgeon who will assess your condition and determine if a custom implant is the right solution for you.
Step 2: CT Scan
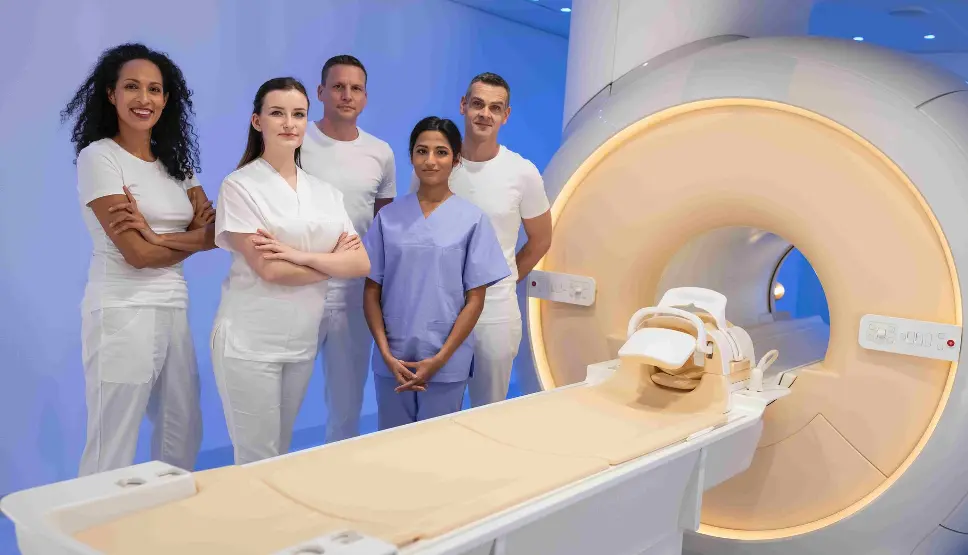
Your doctor will order a 1mm slice standard CT scan of your spine, providing detailed, high-resolution images necessary for accurate modeling.
Step 3: Data Processing and 3D Modeling
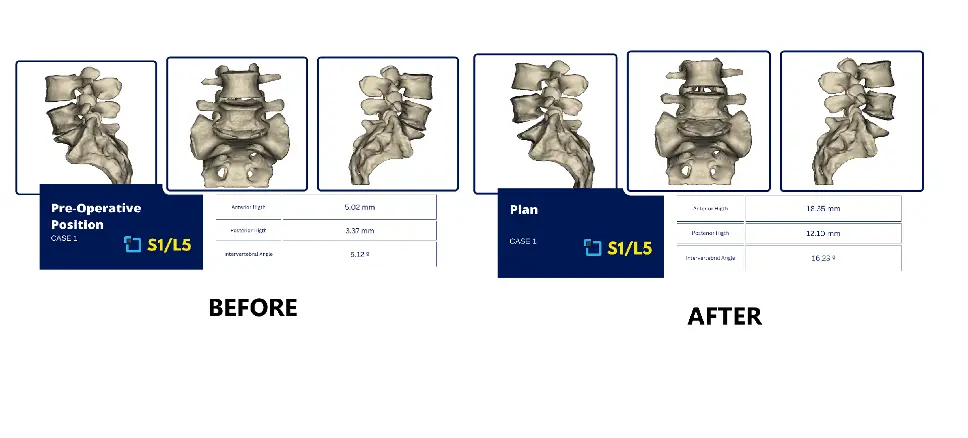
Once your scan is completed, Nivalon Medical processes the files and converts them into detailed 3D models using our advanced AI-driven software. These models accurately reflect your spine’s anatomy.
Step 4: Review and Adjustments by Your Doctor
Your surgeon will carefully review the 3D scans and adjust your spine’s position and spacing to ensure optimal alignment. This step allows for precise tailoring of the implant to your specific needs.
Step 5: Approval to Proceed
After confirming the design and adjustments, your surgeon will send Nivalon Medical the approval to proceed with manufacturing the custom spinal implants.
Step 6: Implant Manufacturing
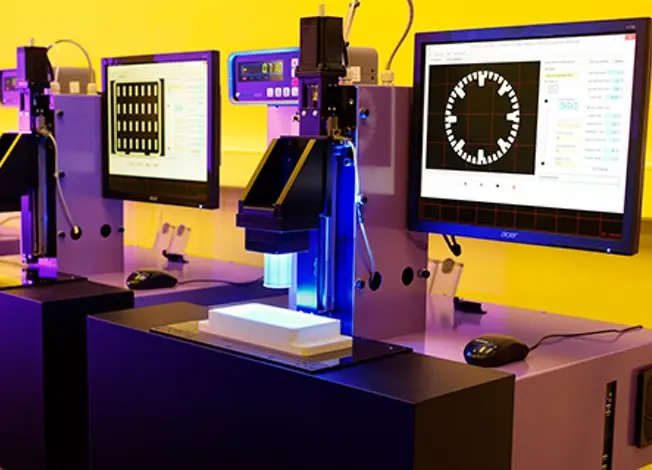
Your implants are sent to the Nivalon Medical production center, where they are 3D printed to meet the exact specifications requested by your surgeon, ensuring a perfect anatomical match.
Step 7: Surgery is Scheduled
The custom implants are surgically installed using a minimally invasive approach through the front of your body. This technique reduces disruption to surrounding tissues, minimizing your recovery time and helping you return to daily activities faster.
Our patient-specific approach, combined with AI-driven precision, ensures the best possible outcome for your spinal surgery, offering improved comfort, faster recovery, and long-term results.


